Resident Evil 4 Remake: How To Finish More Pest Control Request

Leon Kennedy is a busy man during the events of "Resident Evil 4." When his quest to find and return the president's daughter is hijacked by a wacky cult of bio-terrorists, Leon finds himself once again blasting through undead creatures and all manner of mutants. In between all of that, he has to find a cure for the parasite that is ravaging his body, not to mention navigate the awkwardness of seeing his crush, Ada Wong, alive and well — and seemingly working for the enemy. It's a miracle that Leon finds time to tackle a few other dirty jobs for the locals.
"Resident Evil 4" includes Requests throughout the game, which are handed to our hero in the form of a blue note tacked to a wall. Early on in the game, Leon is asked to destroy a series of hanging medallions, for example, and he receives some lovely gems in return. Another early request sees Leon having to kill a handful of rats in an abandoned factory. Starting with Chapter 9 of the game's story, Leon is once again asked to rid the area of rodents, and it's a lot easier than it sounds. Here's a quick and dirty guide for completing the "More Pest Control" Request.
Pests in the Castle
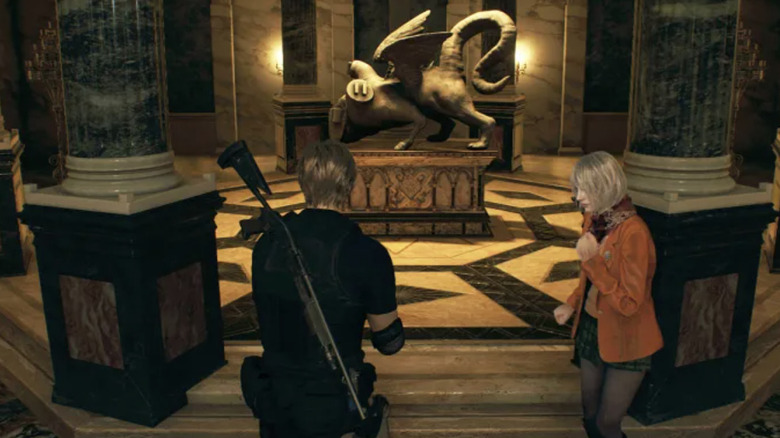
In the Castle's grand hall, Leon will find a note requesting that he kill three rats that have gotten into the stately structure. The note will be on the right side of a door, straight across from where the lion head of the incomplete statue would be facing. It seems like the denizens of the castle would have larger concerns at the moment, but there you have it.
The rats don't put up any kind of a fight, really, but they can be super quick. To save some bullets, it's recommended that players instead crouch down in the rat's path and swipe with one of Leon's trusty knives when it gets near enough.
Luckily, these rats can be easily heard when Leon is close-by, thanks to their incessant squeaking. The first is in the hallway between the Great Hall and the Dining Hall, and you'll likely spot it as soon as you go through the door where the Request note was posted. The next will be in the hallway between the Great Hall and the Armory — you'll probably be able to catch it scuttling past the treasure chest and suits of armor. The third rat can only be killed after finishing the section of Chapter 10 in which you play as Ashley. After that, you'll be able to find the final rat by heading through the hallway separating the Mausoleum from the Great Hall. It's a lot darker here than in the other rat-infested spots, but you will still be able to track the rodent's squeaks. Take it out and earn yourself three Spinels for your troubles.