Expert Tips Devil May Cry 5 Doesn't Tell You
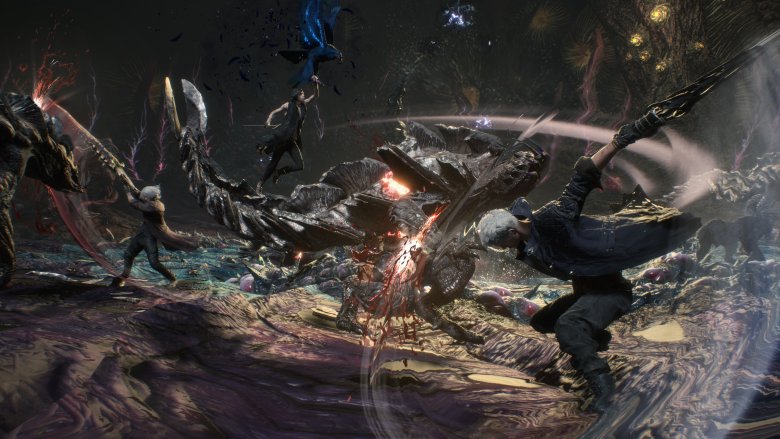
After 11 years, Devil May Cry returned in 2019 in all its stylish glory with the series' fifth installment. In DMC5, Dante and Nero from DMC4 make their comeback, and the new demon hunter V makes his mysterious debut. The three gather together to stop a new villain named Urizen, who grew the demonic tree Qliphoth on Earth. The tree and all its various roots and tentacles suck the blood out of humans, fueling Urizen's seemingly limitless power.
The DMC games are known for their deep combat systems that underlie the spectacle, and the same is true for all three characters in DMC5. Each of them play differently, but they all have their fundamental similarities as well. But because of that same depth, there might be some crucial skills you missed along the way, especially if you're new to the series.
Throughout the game, you'll fight countless monsters and some pretty challenging bosses. In many cases, it might help to know a little bit of advice the game doesn't tell you. Whether you're still on your first journey to defeat Urizen or doing it again on a harder difficulty, check out these tips below to improve your demon-slaying skills.
Stare into the Void
If this is your first Devil May Cry game, you might find yourself a bit overwhelmed. The game begins with what feels like a late-stage boss, throwing you right into the deep end with a handicapped Nero. Later, when you get your first look at the shop, you'll quickly find a pretty big list of combos that you can buy. While button mashing can surely get you through the easier difficulties and first few levels, mastering those high-end skills and combos will be crucial to your SSSuccess later in the game.
Luckily, DMC5 includes a practice mode. Called the Void, you can access this from the main menu or in the shop. From the main menu, you can choose your demon hunter and freely practice whatever combos you want. There's even a dummy monster for you to hit and juggle. From the shop, you can access the Void by highlighting a skill and choosing the "Try" option. This sends you to the Void for the express purpose of practicing that skill, although no one will stop you from experimenting with other abilities.
The game encourages you to maintain a high Style rank in every encounter. The best way to do that requires you to execute a variety of combos and use every option at your disposal. Repetition gets stale pretty quickly, after all. So spend some time in the Void to get a good grasp on all your tools.
Don't lose your leg, too
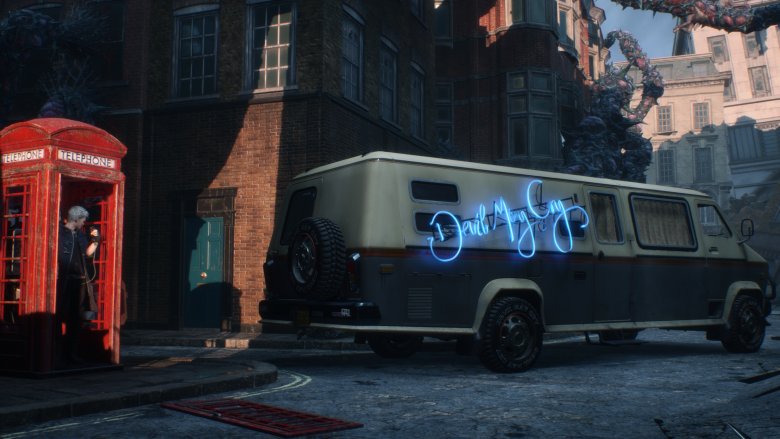
Typically, by the end of your first playthrough, you won't have enough red orbs to unlock every skill. And that's perfectly fine! The DMC games were meant to be replayed many times, especially on higher difficulties. You'll get all the red orbs you need eventually, but there are a few ways to save your money and make a lot more.
To gather as much as possible, explore every nook and cranny of every level. More often than not, every dead end has some reward, usually in the form of red orb clots or trees. Destroying these nets you a decent amount. If you can maintain an S rank or higher in every encounter, you'll get more bonus orbs at the end of the stage as well, so don't let all that practice in the Void go to waste. To tie it all together, don't be afraid to replay past levels. They serve as good practice while earning you a sizeable monetary reward.
Furthermore, save all your orbs for skills, with the occasional purchase of blue or purple orbs as necessary. When you're playing as Nero, avoid buying any Devil Breakers. Instead, go on every mission with only one or two equipped so you can pick more up in each level. Finally, if you die to a boss, consider restarting at a checkpoint instead of paying to revive. The checkpoints usually aren't far away.
Shall we dance?
Longtime Devil May Cry fans will know about the beloved taunting mechanic, but newcomers might be surprised to learn about it, since DMC5 doesn't directly mention it. By pressing select, your character will taunt his enemies. After the animation plays out, it provides a major boost to your Style meter, but you remain vulnerable for the entire duration. You can cancel it with a jump, but cancel it too early and you don't reap the reward.
Your taunt depends on your current Style ranking. As you'd expect, the closer to SSS you are, the more cocky your actions and provocations become. Just like with any ability or combo, however, overusing the taunt has diminishing returns on your ranking. Use it sparingly, and definitely make sure you're in a safe spot when you start one. If you get hit while taunting, you'll of course lose some Style points, and there's nothing more embarrassing than getting clocked because you were too confident.
The best defense is a calculated offense
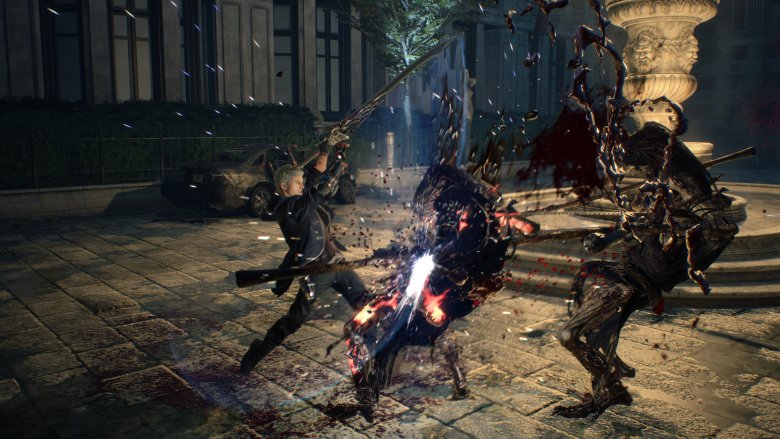
After putting quite a few hours into DMC5, you might have noticed that your attacks can directly counter an incoming hit. The game doesn't explicitly tell you this, but you can actually parry a surprising number of attacks, from the smallest of mobs to the biggest of bosses. Your first few times might have been on accident, but you can pull it off with some patience and precision. Keep in mind, the technique comes with a lot of risks. Your hit has to be nearly frame perfect, and if you fail, you're guaranteed to have a smaller health bar. If you don't feel particularly confident, there's no shame in dodging instead.
If you parry an incoming melee attack, you'll knock your opponent off balance. This leaves them open to whatever you want to unleash upon them, whether it's a charged shot to the face or lengthy combo string. Parrying an incoming ranged attack sends the projectile right back to the enemy and, in some cases, stuns them. It's a perfect way to avoid damage while dealing some back, and it definitely helps increase your Style meter.
How to touch the skill ceiling
In the shop, you'll find an ability for all the characters called Enemy Step. With it, your demon hunter can leap off enemies, essentially getting another jump. What the game doesn't tell you, however, is that this resets your move counts in the air. For example, you can only use Nero's Caliber skill once in the air. But if you use Enemy Step, you can use Caliber again.
This technique, called jump canceling, is absolutely crucial for Nero and Dante. With it, players can stay in the air a lot longer, keeping a safe distance from the demons below. This complements Nero's Wire Snatch especially well, since he can pull enemies up to him. Getting good at jump canceling isn't easy, but incorporating it into your gameplay serves only to lengthen your combos and, by extension, improve your Style.
V can also use Enemy Step, although he doesn't benefit from it nearly as much as Nero and Dante. V's whole concept involves keeping a healthy distance between him and the demons. Nero and Dante, on the other hand, get right into the action, so there's usually no shortage of demons to step on.
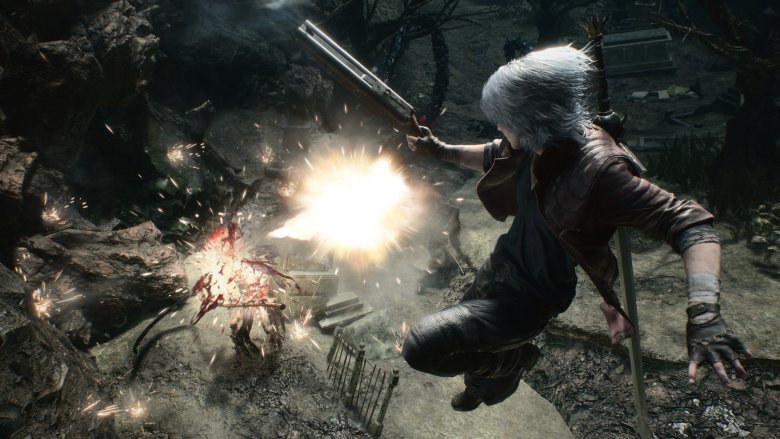
A hidden rocket launcher
This tip applies specifically to Dante, as no one else can benefit from it. Toward the latter part of the game, Dante receives the Kalina Ann II from Nico, a powerful rocket launcher that replaces Lady's lost Kalina Ann. It's a slow but powerful firearm, but that's only half the story.
In "Mission 11," Dante explores some ruined parts of a city. Partway through, he finds a tower ransacked by the various tentacles that come out of Qliphoth. Parts of the tower are propped up by the tentacles, and you can dissolve them by destroying specific clots of blood in the level. You actually have to destroy two to sink the tower into the ground, proceeding through the stage. Before moving on though, destroy the third optional clot to open up another room. This one houses the original lost Kalina Ann for Dante to use.
When you have both rocket launchers, they can be equipped together. But if you thought Dante wouldn't want to wield one in each hand, think again. The Double Kalina Ann lets the cocky demon hunter shoot rockets twice as fast, and his special Gunslinger moves cover the battlefield in explosions.
A Devil has his ways
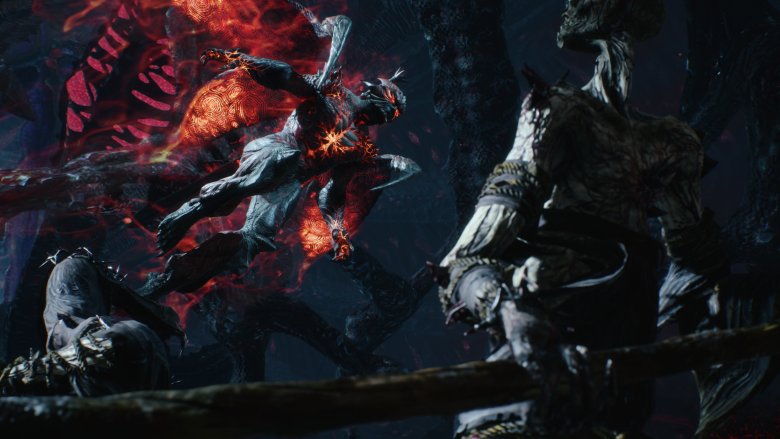
When you're out and about exploring each level, sometimes you'll find ledges that are just out of reach. In other cases, maybe you'll fall down a pit you didn't want to because you forgot to explore another path. Even after purchasing Air Hike, which is essentially a double jump, you can't climb back up. If you're lucky and playing as Nero with an enemy present, you could use Enemy Step to make your way back up. But Dante doesn't need anything like that. He just needs his Devil Trigger.
Dante's Devil Trigger transforms him, revealing more of his demonic bloodline. Aside from the extra combat power the game mentions, he gains a bit more aerial tricks as well. The Devil Trigger unlocks a third jump, courtesy of his new wings, and he can even hover when you hold down the jump button.
But if your Devil Trigger bar is depleted, don't worry. Dante still has some extra tools in his disposal. If you're facing a wall, switch to the Trickster style and use the ability Air Trick. You'll teleport right into the wall and gain nearly half a jump's height. Finally, pair his Gunslinger style with Ebony and Ivory to perform Rainstorm in the air, which slows down Dante's descent, helping him cover more distance.
Know when to lock off
One of DMC5's core mechanics is the lock-on. Using it along with the movement stick determines all manners of attacks your characters perform. More often than not, you'll want to stay locked onto whatever you're fighting to sidestep, keep an eye on their health, and perform specific attacks, like a launcher.
But in some cases, you're better off keeping the camera free. The most obvious situation that comes to mind is whenever you want to use Nero's Devil Breaker, which turns into the Wire Snatch when locked on. But there are other key moments to let go. For example, let's say you're in a boss fight as Dante. The boss prepares to unleash a large area-of-effect attack, and you need to dodge pronto. Switching to Trickster and using your style ability would be the best bet. However, if you stay locked on, it's pretty easy to pull off the wrong move depending on where you point the left stick.
Additionally, some later bosses like to throw lots of projectiles your way. By not locking on and spamming your gun (especially with Dante), the game automatically targets the projectiles. You'll shoot them out of the sky and stay safe as long as you let the game do the aiming for you.
Maintain your charges
Every character has attacks they can charge up, and Nero and V thrive on their charged attacks. Nero's Exceed attacks are very powerful, especially at third level, but without the Max Act skill, it's hard to pull off third-level Exceed attacks mid-combat. So instead, walk into every fight with a fully revved sword ready to go. Nothing stops you from charging up your sword (and gun) before a fight begins. Since they don't lose charge, you can ensure you enter every engagement fully ready.
For V, things get a little trickier. He doesn't really gain anything from walking into a battle with Shadow and Griffon fully charged, especially since he's constantly using them to traverse the stage. However, you can charge one while using the other. For example, while unloading a full combo with Shadow's hectic attacks, start charging up Griffon. When Shadow's combo finishes, let Griffon unleash a wave of lightning to maintain the combo, and then start it all over again. The opposite can be done just as well, considering how much space Shadow's charged up attack covers. Just be mindful of how much less stopping power Griffon has compared to his panther-shaped friend.
Remap your controls
If you take the basic control schemes, you'll notice that every character has their close-quarter and ranged attacks mapped to the face buttons. While that's all well and good, the higher end of the Style meter encourages players to juggle different button timings. For example, if you hold down a face button to charge up your gun while smacking an enemy around, you can finish a combo with a charged shot.
But you may have noticed it's hard to make your right thumb hold down one button while mashing another. Because of that, we recommend remapping the controls to split up the work across your fingers. After moving the long-range attack to one of the shoulder buttons, the S ranks started rolling in more easily. Of course, that's only a suggestion. Feel free to map the buttons out in a way that works best for you. It takes some time to get used to, but once you do, Nero and V will almost always have a charged attack ready to go. Dante arguably doesn't benefit as much from this, considering his more complex play style.
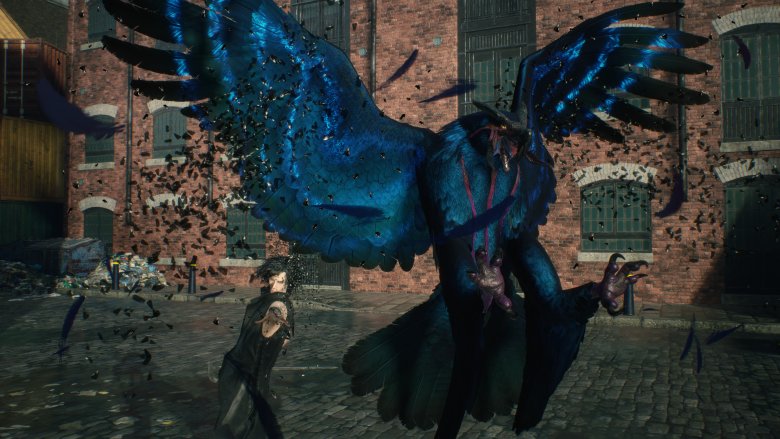
Save the animals
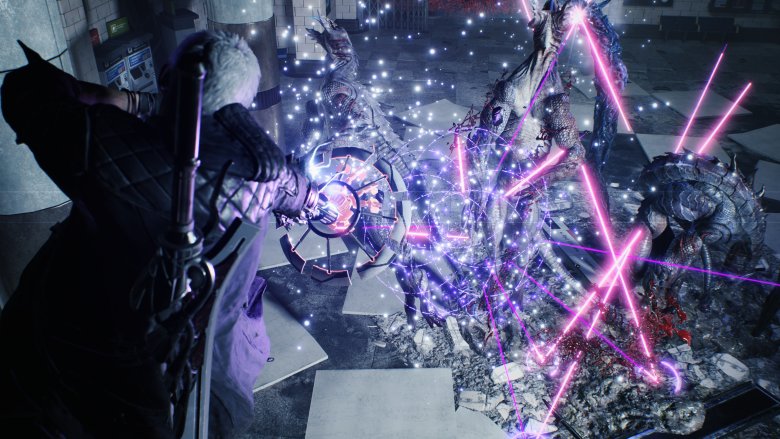
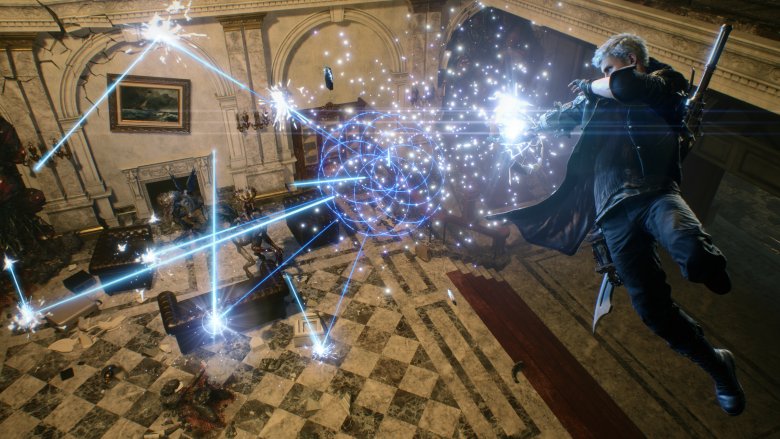
The number one thing the game teaches you about V is to keep him out of danger. Griffon and Shadow do all the damage, but V needs to sit back and read his poetry until he needs to secure a kill. However, the game also mentions that your animal companions can go into a mode called Stalemate. If they take too much damage, you won't be able to use them for a short time. Losing Griffon and Shadow arguably is worse than taking a hit as V, especially on the higher difficulties.
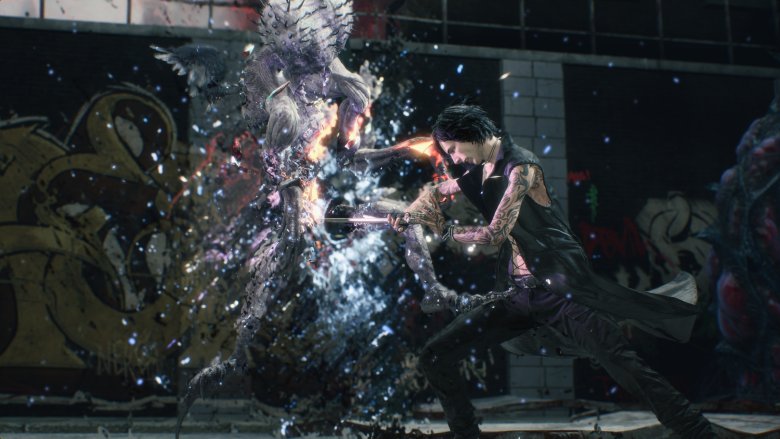
But you'll notice that whenever V dodges, his animal companions immediately come back to dodge with him. No matter what animation they're in the middle of, they'll return to protect their master. While locked on, sideways dodges bring Shadow back to V. Meanwhile, forward and backward dodges (along with double jumps) recall Griffon. Dodging inherently keeps V out of danger, but in some cases, it's worth dodging purely for the sake of your animal companions instead.
Strategically using your dodges can also help you maintain your animals' health pools. If they get low, spam the sidestep to keep Shadow close, which heals him. Alternatively, double jump and glide to heal Griffon. Without them, V is extremely vulnerable. But just know that in a pinch, summoning Nightmare revives both Griffon and Shadow.
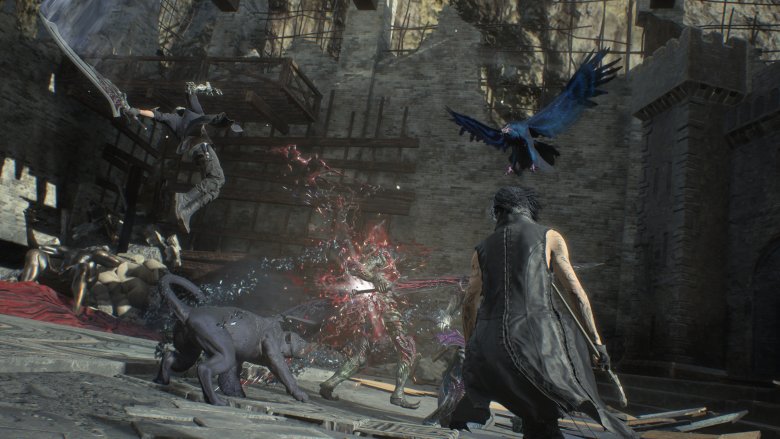
Pull back the camera
After a couple hours with DMC5, things should start feeling natural. You'll have a good feeling of at least Nero's and V's animations, and you'll more quickly process how and when you should attack. When you feel more comfortable with the game and its systems, go into the options and pull the camera back. Though your character's animations are cool to look at up close, you'll benefit a lot more from knowing the location and movements of every enemy.
From afar, you'll get a better understanding of your offensive options, such as whether Nero's Streak or Dante's Stinger will reach an enemy. And perhaps more importantly, you'll have a higher chance of seeing incoming attacks, especially the ones from behind. When you've got a high Style rank going, the last thing you want is to get hit.
Having a faraway camera works wonders for V especially. Since he stands further away from the action, situational awareness is arguably his most important tool. He always needs to position himself away from high-risk enemies while maintaining a clear line of sight to executable foes. Seeing more of the battlefield at all times feeds you with more information, which is crucial when making on-the-fly decisions with your demon hunters.