Expert Tips Bloodstained: Ritual Of The Night Doesn't Tell You
It's been a long four-year wait for Koji Igarashi to deliver on his promises for Bloodstained: Ritual of the Night; possibly 11 years, if you want to count the fact that he hasn't directed a Castlevania title since Order of Ecclesia. Needless to say, though, he did not let us down. Bloodstained is a worthy successor to Symphony of the Night in all but name, and it's absolutely magnificent.
Of course, that also means there's a whole new, enormous castle to explore full of secrets, traps, and obstacles unlike anything we've seen. While there's just enough winking references to make the game feel familiar, make no mistake: Bloodstained is a whole new beast all its own, and much of it is left to the player to discover. While it wouldn't be fair to spoil many of its best surprises, there are at least a few pointers we can give you to make your time in Gebel's demonic castle all the more enjoyable.
Stockpile food when you can
Veteran Castlevania fans will find themselves at home right away with most of how Bloodstained works, but there are a couple of little tweaks they'll have to make to standard operating procedure here. Perhaps the most crucial of them is the fact that while food and potions are plentiful in most Igavania games, Bloodstained is a place of famine. There's a lot more resources hiding behind walls, but what's there is typically Max HP/MP/Ammo powerups more than food.
Yes, of course, you can still recover your HP and MP at save points, but don't expect to just collect random food the way you used to. Instead, you'll notice the game's crafting system via Johannes does include potions and food. Do yourself the favor of stockpiling this stuff, and stockpiling it early. You'll thank yourself later when you start running into bosses who can clip you in four or five good hits.
Hoard everything
Speaking of stockpiling, that goes for just about everything else as well. It won't take long for you to start amassing quite the collection of inferior weapons and gear, along with scraps of raw materials. Unless you're utterly desperate, the latter can be left alone, but your weapons and gear are another story.
You can find a bunch of awesome new loot out in the world, but some of the best stuff will end up requiring both raw materials and one of those inferior weapons you're lugging around. Yes, we get it, you're going to be hard up for cash for a while in the early going, and some of those swords can net a pretty penny. Do yourself the favor of keeping just one of everything you can actually equip. Any duplicates past that, go nuts pawning it off to Dominique. But when you start seeing badass armor or outfits for sale, and crafting it requires a cheap cotton tunic you got in the first hour of the game, you'll thank yourself.
Master the two-hit combo
Some things change, and many things don't with Bloodstained. While there's more than a few new mechanics to play with — crafting and gunplay in particular — there's plenty of tips and tricks that carry right over from Castlevania. Probably the most crucial, however, is the two-hit combo.
The principle is the same as most fighting games. You can strike enemies in the air while jumping, but your ability to attack resets when you hit the ground. Ergo, the closer to the ground you can strike, the faster you can get two hits in before the enemy even, well, knows what hit them.
Obviously there's risks and limits on that. Greatswords and axes aren't as effective at pulling this off, though obviously they make up for it in sheer power. But weapons that hit more than once on one strike become all the deadlier once you get the timing down. And if you manage to craft an overpowered monster like the Rhava Velar, God help anything in your path.
Create your shortcut home
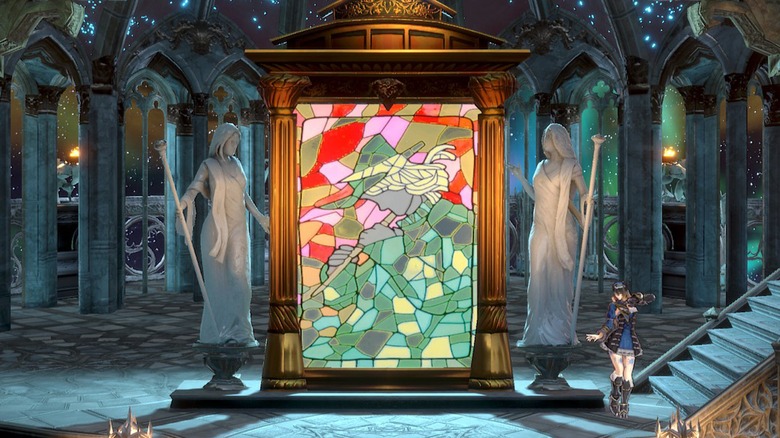
As your wander along in Bloodstained, collecting cash and items, you'll want to make frequent stops back at your base of operations to upgrade your gear and shards, buy new stuff, and craft items. The walk back to the castle can be a pain, though, unless you're planning a trip to the underground sections. However, one of the most useful stained glass teleporters in the entire game is the one that's the easiest to miss: it's literally right outside your home base's front door.
When you first set up shop in the local village, exit the house to the right, but instead of going forward, hop the platforms and go straight up. To the upper left is an awning you can stand on, and a passageway leading to a teleporter. And to repeat, you want to get that room active as soon as possible. Once it's there, it's pretty much your base of operations, and a grand excuse to keep using the save point in Johannes' room to experiment with gear.
The double jump has surprises
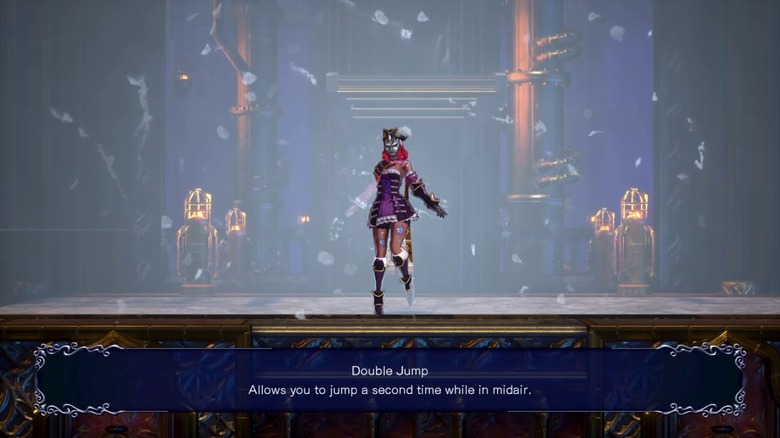
The Double Jump shard comes along a lot later in the game than you might prefer, but while you're obviously able to get to some of the just-high-enough-to-be-unreachable platforms in-game, there's a couple other abilities you might want to look into once you've got it.
The first is free with every Double Jump shard: after your second jump, hold straight down or down-diagnonal, and you'll perform a super fast diving kick into the direction of your choice. It's a snazzy way to fall with style, but it's also an amazingly versatile tool during combat, since hitting an enemy bounces you off them, essentially granting you another free jump and an easy way to get over them without touching the ground. Also, if you want to be a true pest, you can just spam the divekick ad nauseum. If you're using shoes as your primary weapon, or using the bunny metamorphosis shard, you'll do some legitimate damage with each hit, too.
In addition, we recommend upgrading every shard you're comfortable with to its utmost for the benefits, but grab a Bovine Plume (you can farm them from the bull enemies in the Oriental Sorcery Lab), and you'll gain a super high jump.
Get your Bit coins back
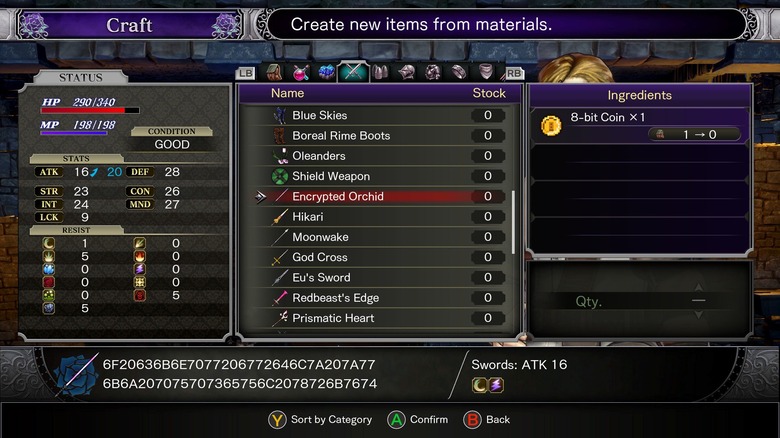
You'll come across your first 8-bit Coin relatively early in the game, which can be exchanged for relatively powerful weaponry. But only the first coin is free. Additional 8-bit coins have to be purchased from Dominique, as do the 16- and 32-bit versions, and those latter two are not cheap by any means. And trust us, upgrading these weapons to their highest form is absolutely a worthwhile pursuit.
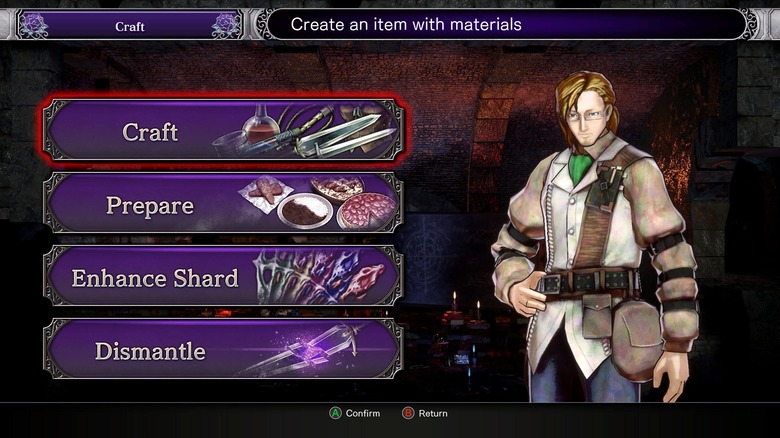
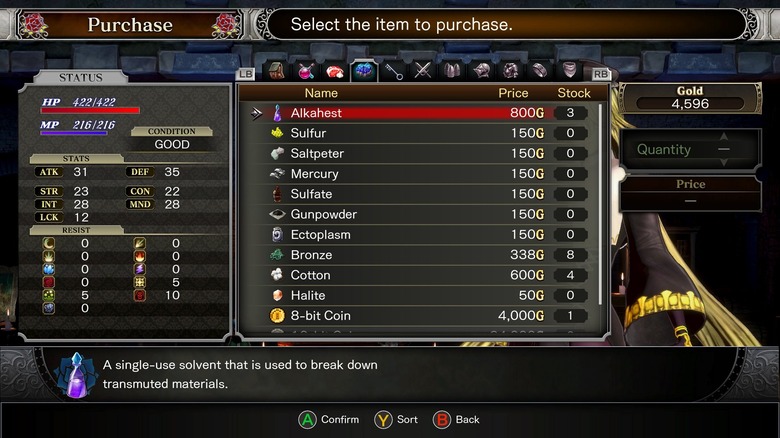
Fortunately, if you get desperate, there's some good news: every weapon created using the coins can be dismantled by Johannes at the small cost of an item called Alkahest, and it will give you back the coin used to create it. It's not a bad practice later on anyway, to see if you can obtain crafting materials you need from equipment you already own. But for these weapons in particular, having a nice pile of those coins to either sell or funnel into another weapon is a godsend.
Oh, and by the way, you'll need an item called the 8-bit Nightmare to upgrade those weapons to their highest level. May we suggest looking for one in the ceiling above the save point and stained glass teleporter in the Hall of Termination?
Talk to the other villagers
For most of the game, there really isn't any major reason to venture back into the starting area. Sure, there's the old woman who misses food a lot, and that one lady who really, REALLY wants you to kill those murderers dead, but their quest rewards leave a lot to be desired most of the time. You've got everything you need, so there's no earthly reason to go back at all, right? Well, actually, wrong.
If you head back a screen, there's actually two more easily missable NPCs to talk to. One's a farmer, and he'll turn those useless seed items you pick up from time to time into actual food you can craft with. As a matter of fact, he can grow the rice you need to complete the old lady downstairs' first quests. The other is a poor nun looking for mementos of the dead villagers. Her quests in particular actually culminate in some important late-game materials, so definitely jump on those.
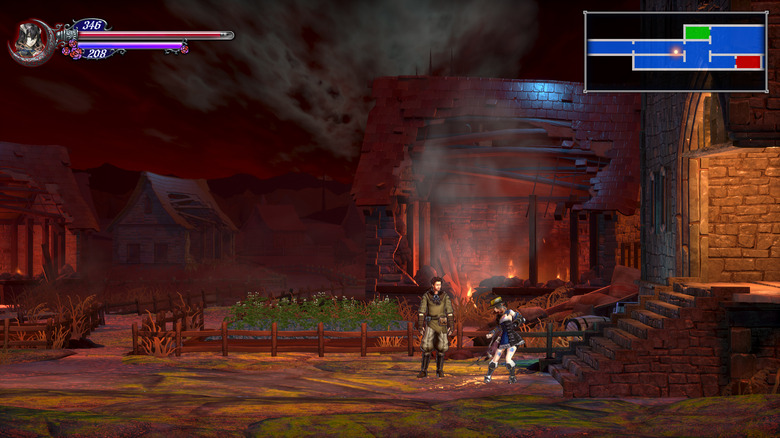
Hold on to your waystones
Even though there's stained glass teleporters all over the castle, you will find out in a hurry that the distance between them can be downright punishing, and there's no guarantee you'll survive long enough to get to the next one. Thankfully, that's exactly what the waystones are for. Using one basically acts like an instant one-way ticket back to the village to regroup and resupply.
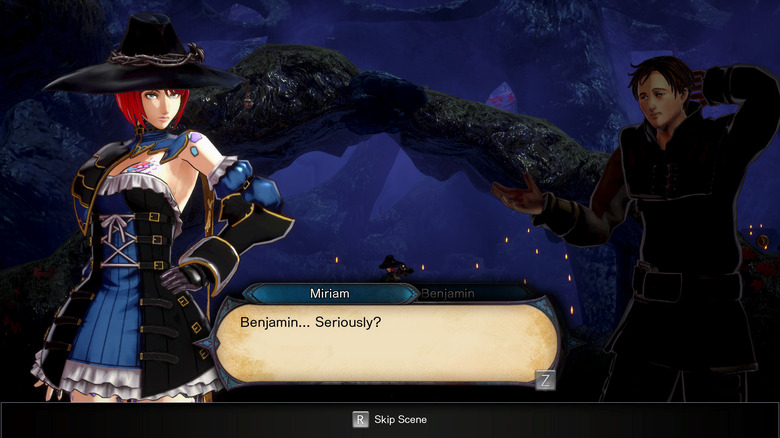
Even though they're pretty much there as an emergency measure, you'll still want to hold on to a couple of them. See, there's a particular NPC named Benjamin you'll run into a couple of times: once in your normal travels early on, once in a room behind the waterfall, and once in the portal room in the Oriental Sorcery Lab. He gets stranded in the castle and needs a waypoint to go home for good. Each time you help him out, he'll give you an escalating amount of money, and once finally home, he'll give you a super useful ring that makes it so status afflictions actually make you stronger. So, yeah, maybe hold onto a couple until then.
Keep visiting the library
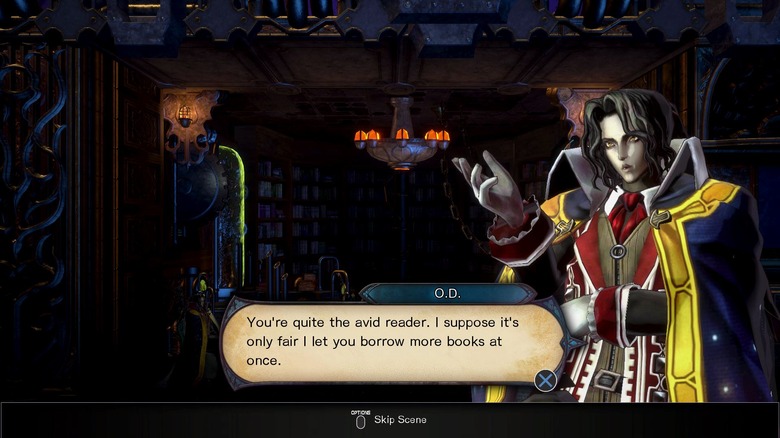
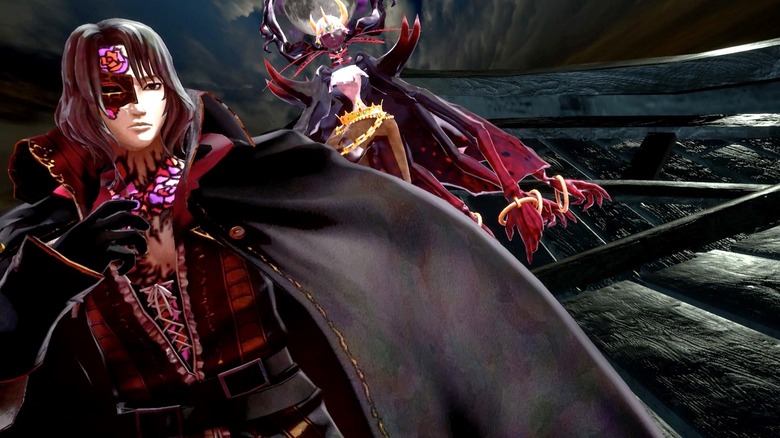
After meeting the librarian, Orlok Dracule, in the Libre Ex Machina (and having yourself the best game nerd moment ever once you realize what Igarashi did there, especially with the voice actor), he will invite you to take out a book. Now you might assume, based on the dialogue, that you can only take out one book at a time. Luckily for you, this is absolutely not the case. Basically, you should be visiting the Librarian after every major boss encounter in the game. He'll actually let you take out an additional book each and every time.
Here's the trick, though: you'll notice O.D. makes a big deal about you returning every book you take out from the library, but it's mostly smoke and mirrors. You can hold on to the books up through the end of the game, no problems. However, after you've beaten the game, O.D. will have one last book for you to check out: the Tome of Conquest. If you hold onto it and then head to the Glacial Tomb, a very pissed off O.D. will come to collect the ultimate in late fees himself. After you beat him, he'll let you take out all the books you want.
Yes, that blood fountain does go somewhere
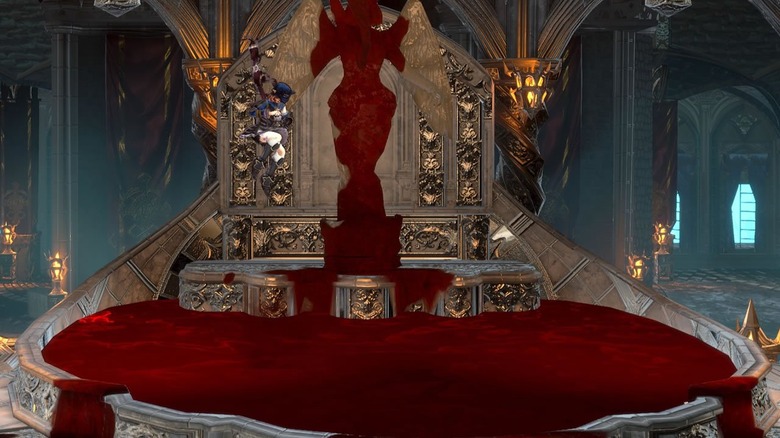
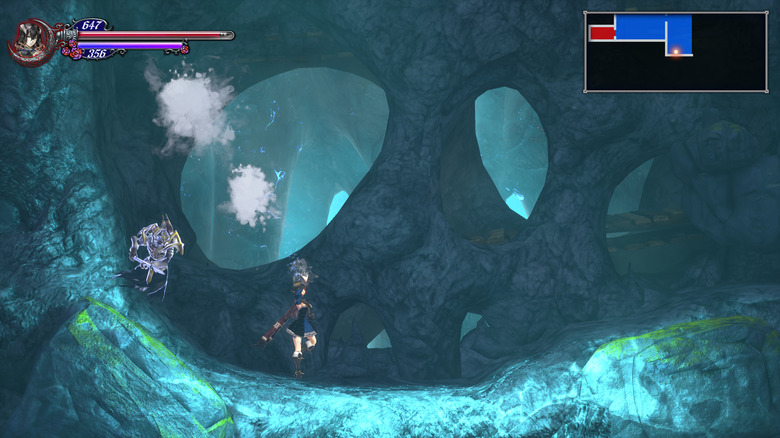
One of those early moments of madness for Bloodstained players is the blood-filled fountain in the castle's lobby. It appears to have an open line on the map, denoting there's a path down, but jumping in and trying to jump down does absolutely nothing. Now, Bloodstained does have its share of minor glitches, so you'd be perfectly justified believing this might be one of them, but thankfully, no: there's actually a way to get down there.
Once you have the Reflector Ray shard, you'll have the ability to get a bit higher in the Cathedral. One of the spire areas has a room above a save point you need the Ray to reach. In there is a boss named Bloodless, who some of you might recognize as one of the bosses in the spinoff Bloodstained: Curse of the Moon. Beat her, and she'll fork over the Blood Steal shard. By itself, it allows you to steal life from enemies in small quantities. But activate it in that fountain in the lobby, and behold as you perform the grossest plumbing job known to humankind — and access a new area.
Fight bosses from the ceiling
The holy mother of game design twists in Castlevania: Symphony of the Night has come back with a vengeance in Bloodstained in the form of the Invert shard. With it, the entire game flips upside down with the push of a button. That's awesome enough as it is. Hopefully your first instinct is "holy crap, im gonna use that for everything," because that's exactly what you should be doing, particularly for boss fights.
The Invert shard happens late enough in the game where you might not have a whole lot to do with it, but at that point, you're looking at some of the more obnoxiously difficult bosses. Well, obnoxious if you're fighting them on their own terms. Most of their attacks make the assumption you're fighting them on the floor, which means immediately flipping to the ceiling and coming at them with jump attacks, though it may be a slightly longer fight, still makes it a simpler one. Do yourself a favor and upgrade that shard, though. Upgrades increase the brief moment of invincibility when you flip the stage, and you bet you should avail yourself of that and often.
Want to swim? There's a shard for that
In case you hadn't guessed, no, the water in the underground passage isn't just there to look pretty. There's a whole undersea adventure waiting down there, leading to three of the hardest areas of the game, even. But how to get down there is the big question. What's worse, unlike most of the other powers, this one you're not gonna get from a boss or find in some hidden room.
Nope, the shard you're looking for is called Aqua Stream, and you actually find it by killing a specific jellyfish/squid-like enemy in the area after you've emptied out the blood fountain. Eventually, you'll come to water rooms populated with them instead of those ugly zombie tuna things. Basically, from there, all you have to do is just keep killing the things until one of them drops the shard.
By the way, you should figure it out fairly quick, but it bears mentioning: beyond just helping you putter around in the water, the stream is actually the best weapon you have in the water, even after you get the Deep Sinker shard and can move around like normal. It's basically a water-based Contra gun.
There are other ways to keep your promise to Gebel
There are a ton of deliberate similarities to Castlevania: Symphony of the Night, and that extends 100% to its endgame. Yes, you can just stroll up to the top of the Hall of Termination at any time and take out Gebel, but it results in an anticlimactic ending where Miriam wonders what else could've been done. As it turns out, the answer is "a lot."
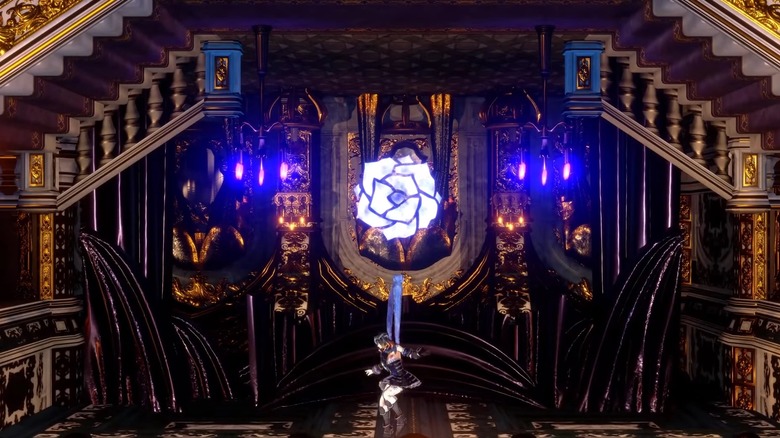
While we're not going to spoil some of the game's best surprises, at the very least, we can point you in the right direction to get to the real goods. Specifically, you'll need the Craftwork shard, the Invert shard, and the Aegis Vest. The other two you'll get in the normal course of your travels, but for the Vest you'll have to take a trip back to the Twin Dragons' tower once you've got the Invert shard. Stay on the ground, and head to the lowest level of the room where you fought the dragons. Step out of the left door, invert the room, and you'll see a chest on a ledge under some spikes. Once you've got it, head to the leftmost spire in the Cathedral, where you should have a bit more map space to fill in, and put your newfound skills to good use. Best of luck, though: the area afterwards is no joke.
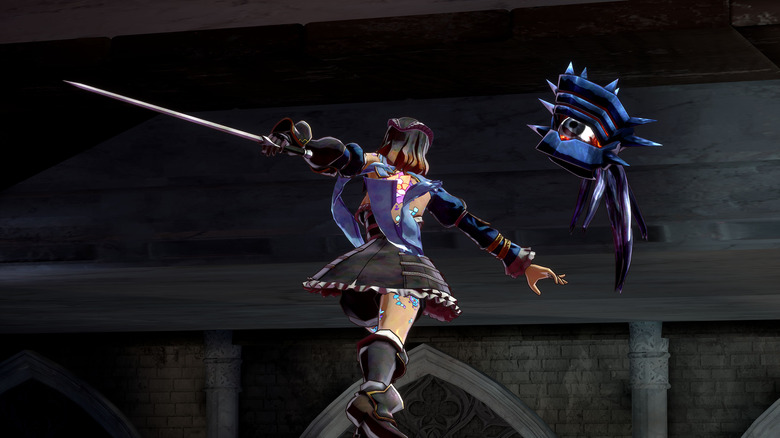
Strike a pose
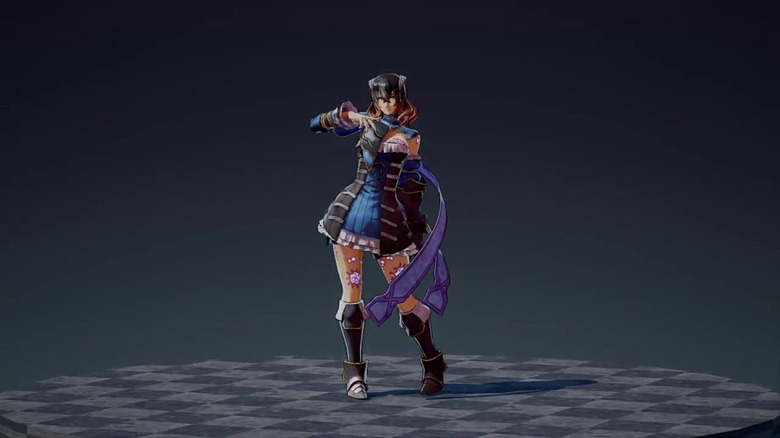
Lastly, you actually have quite a bit more control over Miriam's aesthetics. Via Todd, the demon barber, you can change her hairstyle, hair color, eyes, and skin color (though you have to find new hairstyles scattered throughout the world). But you have one last control available to you right off the bat: if you hold the "Up" button for five seconds at any point, Miriam will strike a pose. Hold it another five, and she'll pose again, showing off the crystal on her back, which for some reason, you can't do in the main menu.
No, there's no purpose. It's just neat, and the pose itself is one of the game's numerous winking references to bonkers anime/manga series Jojo's Bizarre Adventure, including Dio Brando's vampire mask and the hyperventilator Joeseph and Caesar wear while being trained by Lisa Lisa. Actually, those are super useful, they're two of the best attack boosts in the game.