The Endings Of Bloodstained: Ritual Of The Night Explained
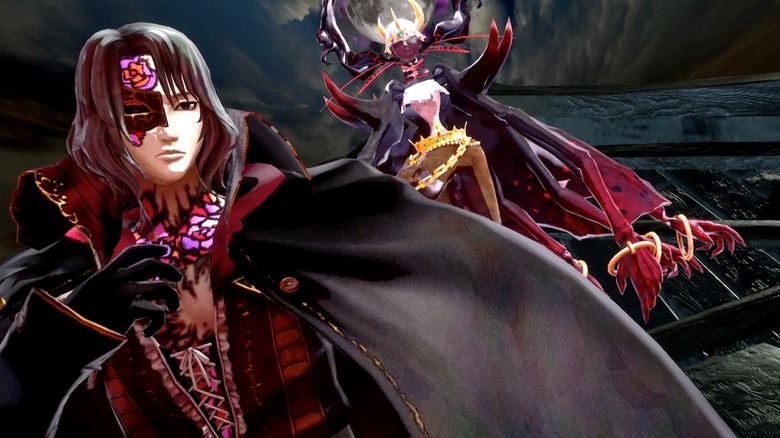
Bloodstained: Ritual of the Night, the much-anticipated Metroidvania side-scroller from 505 Games, places you in the role of Miriam, an orphan fated to die because of a powerful alchemical curse. A spiritual successor to the Castlevania series, Bloodstained sends Miriam into the heart of a demon-infested castle summoned by her friend, Gebel. The castle holds the key to saving not only herself but all of humanity.
In true Castlevania fashion, Bloodstained offers multiple endings based on the actions you take: two bad and one true ending. Reaching Just a Flicker, the first bad ending, will occur as a natural progression of the main storyline. Achieving the other two requires a more in-depth exploration of the castle in search of shards, objects formed from the crystallization of demon powers. By absorbing these shards, Miriam gains access to special abilities you can use to unlock new areas and defeat enemies. For the completionists out there, here is a step-by-step breakdown of how to trigger Bloodstained: Ritual of The Night's three endings.
Ending 1, Part 1: Reflector Ray
To trigger any of the Bloodstained endings, you must obtain the Reflector Ray, a Directional shard that lets you teleport small distances using beams of light. To reach the Reflector Ray shard, you will need the Craftwork shard, which gives you the ability to grab and move obstacles. The Craftwork boss in Dian Cecht Cathedral drops the shard; if you have not found and completed this fight, you cannot proceed in the story.
With the Craftwork shard absorbed, make your way to the Garden of Silence and have the Ferryman transport you across the broken bridge. From there, go southeast towards the Towers of the Twin Dragons. Complete this area to unlock the double jump ability and retrieve the Silver Bromide. From there, head to the village where you can pick up the Identification key item by looking at the painting in the left corner of Dominique's supply post. Now properly supplied, return the Towers and visit OD in his library, who will give you the credentials needed to bypass the machinery at the Bridge of Evil. Use the credentials to unlock the Underground Sorcery Lab. Defeating Bathin, the boss here, rewards you with the Reflector Ray.
Ending 1, Part 2: Hall of Termination
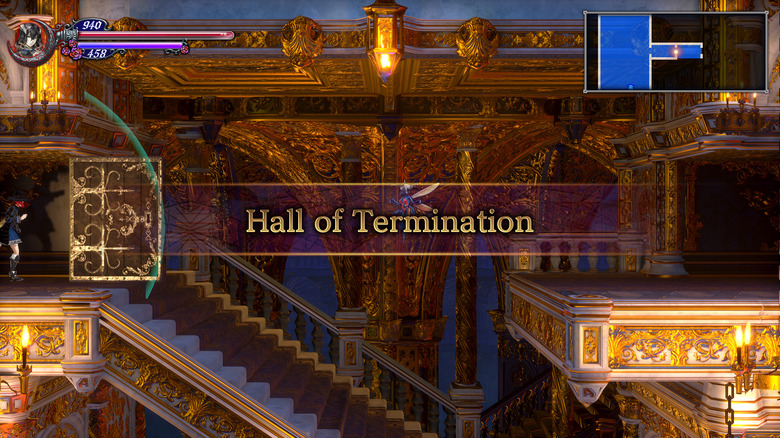
With the Reflector Ray, you can reach the Hall of Termination, the highest point of the castle. To proceed to this area, you must first slay the Abyssal Guardian, a ferocious dragon in Livre Ex Machina. Once the guardian is out of the way, you're free to use the Reflector Ray to reach the upper levels of this area, which reveals the Hall of Termination. As you make your way through the new rooms, you'll encounter several demons and chests, providing loot you can use for the final battle. This includes the Familiar: Buer shard and Words of Wisdom shard.
On the second level of the Hall of Termination, you'll find a fast travel room. A nearby platform leads to a tall staircase. Climbing the stairs takes you to Gebel's throne room. Entering the throne room will trigger the final boss fight, regardless of any parts of the castle you've left unexplored.
Ending 1, Part 3: "Just a Flicker" achievement
Entering the throne room at this point forces you to fight Gebel, the game's main antagonist. Following some dialogue, Miriam kills the corrupted remains of her former friend, unlocking the "Just a Flicker" achievement. For a final boss fight, the battle against Gebel proves rather easy, the first indicator that all is not as it seems. As the final moments of the game play out, it's even more evident that you've missed some important detail.
Her promise to Gebel fulfilled, Miriam finds herself back in Arvantville with Johannes. Despite Gebel's death, the demon-filled castle does not disappear, leaving Miriam filled with doubt over whether she made the right decision. Johannes says it's in the hands of Dominique and the Church now. The last cutscene concludes with a "Game Over" screen, the final nail in the coffin. Of the three endings, Just a Flicker is the easiest to achieve but provides the worst outcome.
Ending 2, Part 1: Blood Steal shard
To get the second bad ending, you must explore several optional locations in the castle and collect some key items before heading to Gebel's throne room. First, you must defeat the Bloodless boss, a challenging fight that takes place in the Dian Cecht Cathedral. To reach Bloodless, use the Reflector shard to travel through several vertical rooms and towers from the area's fast travel point. Be sure to collect the chests along the way as you head towards the next save point in the Cathedral's Bell Tower.
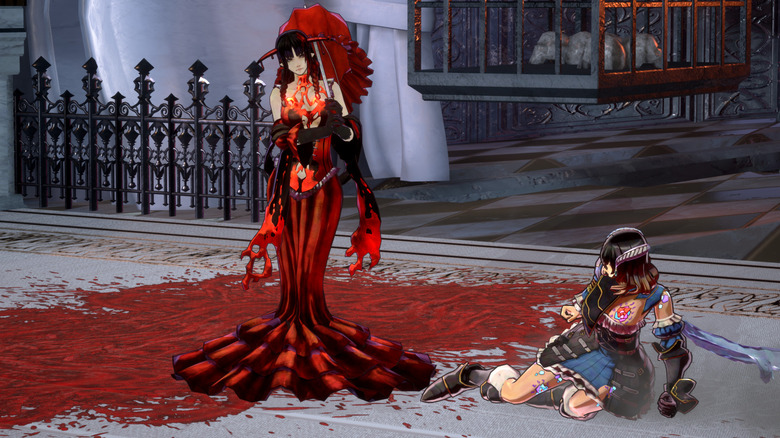
Bloodless presents a significant threat, so makes sure you're stocked up on food and potions before heading into the Bell Tower area. She uses a devastating combination of blood-based abilities, including blood rain and tornadoes, that will have you scrambling for cover. Dodge her attacks as best you can until you can whittle down her health. Upon defeat, Bloodless drops the Blood Steal shard, which you'll use to access a secret area of the castle.
Ending 2, Part 2: Aqua Stream shard
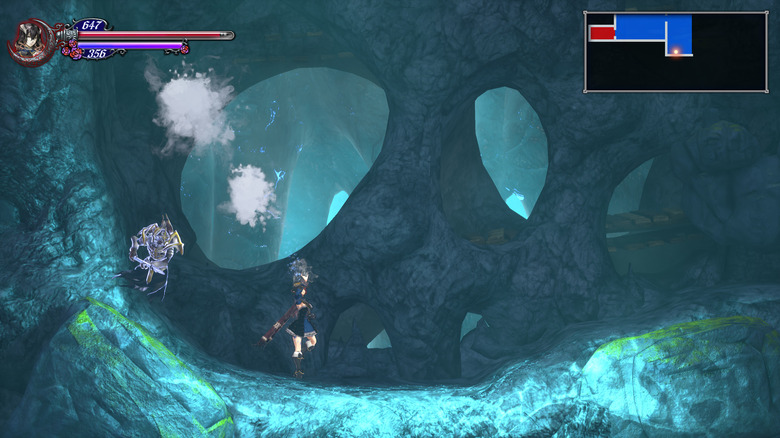
After collecting the Blood Steal shard, return to the blood fountain within the castle's main hall. With your new ability, you can drain the blood from the fountain, revealing the Forbidden Underground Waterway. To progress to the next stop on your journey, you'll need the Aqua Stream shard, which allows you to swim underwater, a skill Miriam does not naturally possess. Unlike the other shards in the game, retrieving the Aqua Stream shard requires some level grinding.
Head southeast from the underground area until you find a fast travel point. Two screens to the left of it, you'll find a small pool containing Deeseama, a jellyfish-like enemy. Farm the Deeseama until one of them drops the Aqua Stream shard. You can speed up the process by snagging the Fortune Tome from OD in the library or equipping accessories that provide bonuses to your Luck stat. With the Aqua Stream shard in hand, you're ready to head to the next area.
Ending 2, Part 3: Deep Sinker shard
With Aqua Stream, you can reach the Hidden Desert by exploring the waterway. In the farthest reaches of this level, you'll come across an elevator. Ride the elevator up to take on Alfred, a hidden boss fight that awards the "Hermetically Sealed" achievement. Defeating Alfred also opens up a previously sealed passage about midway up the elevator shaft. Take the elevator back down to enter the passage where you'll uncover a crystal. Break the crystal to retrieve the Deep Sinker shard.
By equipping the Deep Sinker shard, you can sink to the bottom of any water-filled area or passage. This allows you to open underwater chests and explore new areas, though your underwater mobility is limited unless you upgrade the shard. Return to the fast travel area of the Forbidden Underground Waterway then use the Deep Sinker shard to access a new passage leading to a glowing red door providing access to the Secret Sorcery Lab.
Ending 2, Part 4: Invert Shard
After clearing the Secret Sorcery Lab and its boss, you'll find an entrance to the Inferno Cave, an underground area filled with lava and fire-based enemies. You can collect several useful items by defeating the demons here, including the Flamethrower shard. It's possible to acquire the shard by killing Volcano Mortes, which have a chance of dropping it.
Progress through the level until you find Orobas, a boss who spends most of the encounter attacking you from the ceiling. Once defeated, Orobas will drop the Invert shard and reward you with the Rodeo Star achievement. By absorbing the Invert shard you can reverse gravity, allowing Miriam to walk on ceilings and explore new areas. You'll use this ability to collect the two items needed to unlock the two remaining endings. With your prize in hand, use the nearest fast travel point to return to the Tower of Twin Dragons.
Ending 2, Part 5: Aegis Plate
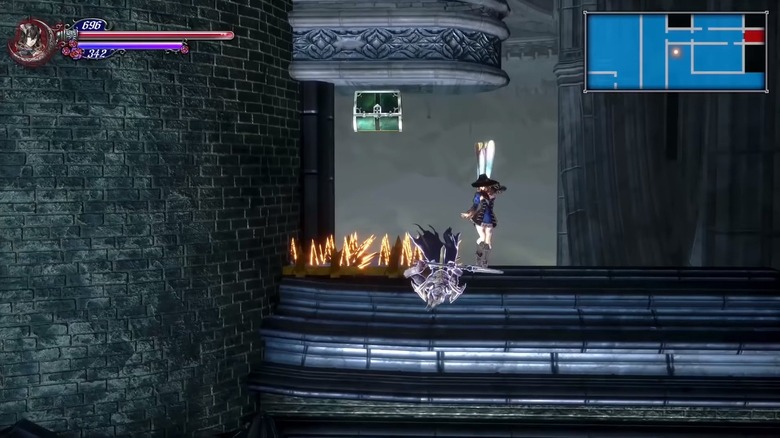
From the Tower of Twin Dragons' fast travel room, head east until you find an elevator. Take the elevator to the lowest level and continue east until you find yourself near the arena where the Valac boss fight took place. Use Invert to walk on the ceiling, revealing a platform with a chest over a bed of spikes. Skirting the edge of the spikes, reactivate Invert to land on the platform and open the chest.
The chest contains the Aegis Plate. When equipped, this special armor allows Miriam to walk across spiked surfaces without taking damage. With this item, you can return to the Dian Cecht Cathedral and traverse the hall of spikes located there. Traveling through the passage provides access to a new area, the Oriental Sorcery Lab, where you'll have a rematch with a certain magical katana-wielding demon hunter, the final step on your journey to the second bad ending.
Ending 2, Part 6: Zangetsu

The Oriental Sorcery Lab has many enemies and challenges for you to face, including a puzzle comprising several arches that transport you to different areas when you walk through them. Your destination will differ based on which side of the arch you enter from, adding an extra layer of complexity to overcome. Miriam has a chance to acquire two shards in this area by killing specific demons: the Petra Breath shard from a roaming Haagenti and the Tornado Slicer shard from the enormous, cat-like Kamikaze.
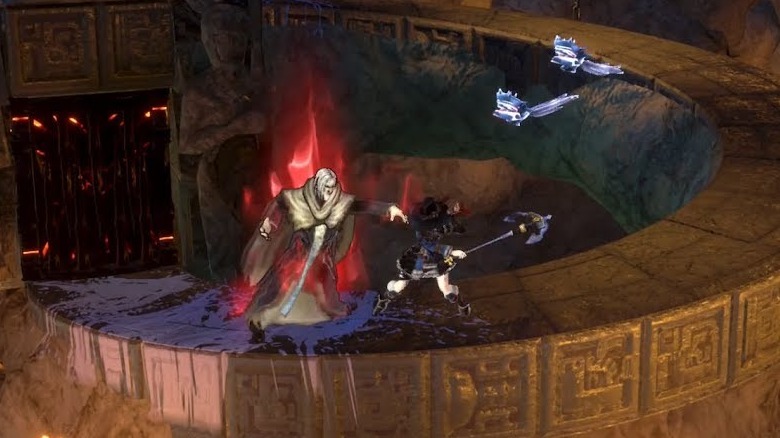
After finding the area's save room, head west until you reach a door with glowing red lights. Entering the room initiates a cutscene and your second boss fight with Zangetsu, who wants to test Miriam. After defeating the demon hunter and proving your mettle, he'll give you his katana, Zangetsuto. The game will also reward you with the "His Blade" achievement. Now that you have Zangetsuto, you're ready to return to Gebel's throne room and unlock the second ending.
Ending 2, Part 7: Usurper Achievement
Retrace your steps to the Hall of Termination and climb the dreaded staircase to Gebel's throne room. After the cutscene triggers, defeat him with Zangetsuto and unlock the "Usurper" achievement. Similar to the first ending, Gebel tells Miriam that she did the right thing; however, she questions whether this is the case as she watches him die.
Unlike the Just a Flicker ending, you're not treated to a scene with Johannes back in the village. Instead, the screen fades to black and you hear ominous laughter accompanied by a female voice. "With that many shards bound to you, you will be all too easy to possess," says the voice before "Game Over" appears in bright red lettering. Once again, Bloodstained seems to imply that you're missing an important detail or two. You must unlock the game's good ending to uncover the truth, including the true villain of the story.
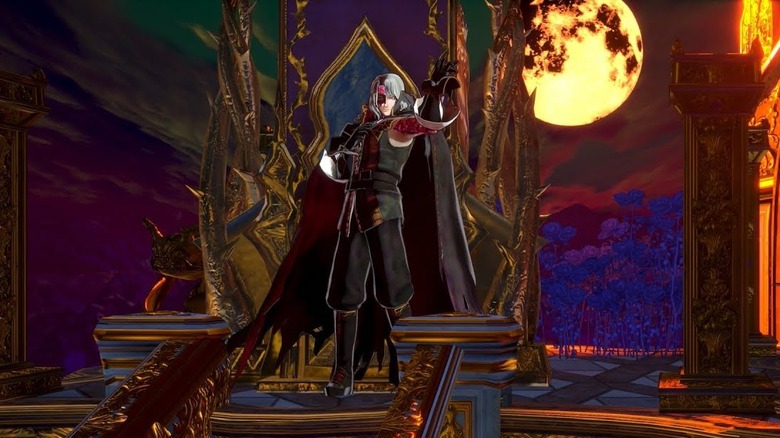
Ending 3, Part 1: Red Moon
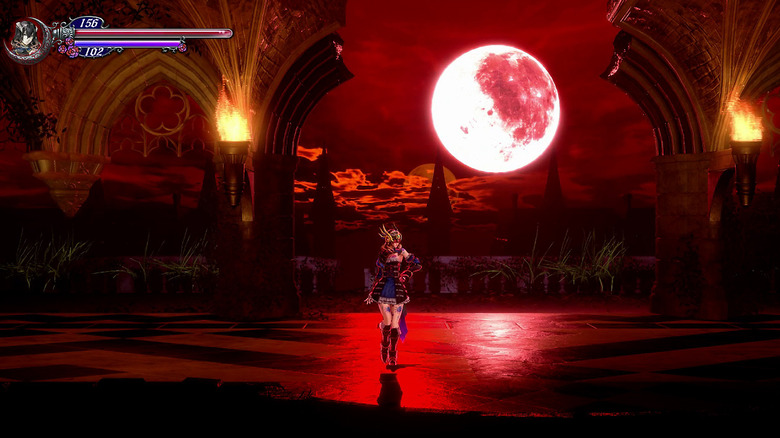
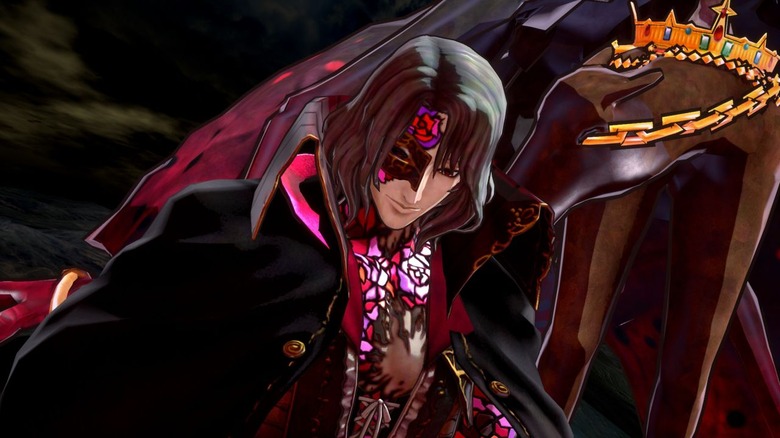
To get the good ending, you must complete some extra steps. When the moon turns red during your fight with Gebel, stop fighting the boss and attack the moon with Zangetsuto. This reveals Gremory, the demoness whose voice you heard in the Usurper ending. Alfred turns up and steals the Liber Logaeth, an ancient tome of demon summoning, which he runs off with. Gremory disappears, hot in pursuit, giving Miriam the opportunity to bid Gebel a tearful goodbye. With Gremory exposed, he regains control of himself, though this moment of lucidity is fleeting as corruption destroys his body.
After Gebel's death, Miriam and Johannes discuss their next move, determining that they need to track down the Liber Logaeth and use it to destroy the castle. Knowing that Gremory will be after the tome, they decide to use the red moon to track her down, hoping she will lead them to the book.
Ending 3, Part 2: Den of Behemoths
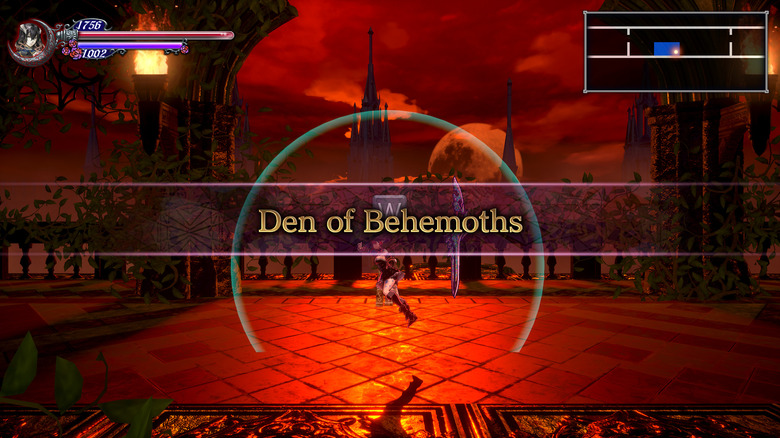
After the cutscene, head to the Garden of Silence and strike the second red moon there. This creates a portal to the Den of Behemoths where Miriam discovers Alfred in his final moments of life. Another cutscene triggers, in which Alfred reveals that "she stole it," referring to the Liber Logaeth. Zangetsu appears, pulling Miriam aside and detailing his suspicions about Dominique, who he believes purposefully pitted them against one another. According to the demon hunter, she twisted them against Alfred, who only wanted to protect Miriam from the dangers of her powerful attunement.
Once Alfred dies, you must proceed into the Glacial Tomb area, where you'll take on more demons and three additional bosses before reaching the good ending. The first threat on your list is Gremory, Zangetsu's mortal enemy. Now that he has given the Zangetsuto to Miriam, he plans to use his new vulnerability to set a trap for Gremory, who he believes can't resist the temptation to eliminate him once and for all.
Ending 3, Part 3: Dimension Shift shard
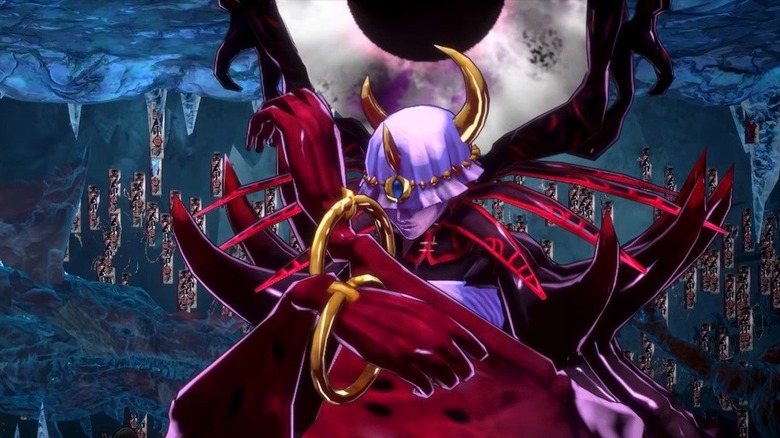
After reuniting with Zangetsu in the Glacial Tomb, the two of you track down Gremory. At the start of the encounter he uses his power to bind the demoness in place, dying in the process. This leaves Miriam to face Gremory alone, who attempts to steal Miriam's crystal to complete the summoning of Bael, King of Kings. Defeating Gremory rewards you with the Dimensional Shift shard, which Miriam can use to teleport short distances.
With Dimensional Shift, you can proceed further into the tomb for two final boss fights: Dominique and Bael. In traditional Castlevania fashion, it turns out that the woman who has guided and kept you supplied throughout your journey was working against you the entire time. These fights are tough and unfold in direct succession. Make sure you're well stocked with potions and recovery items, as you won't get a reprieve between the two battles. Once you head down this path, you're in it until the bitter end.
Ending 3, Part 4: Dominique and Bael
Upon confronting Dominique, you discover that she stole the Liber Logaeth from Alfred. In a quest to destroy God, Dominique secretly turned herself into a Shardbinder by studying Miriam and Gebel. With the Liber Logaeth in her possession, Dominique uses the tome to summon Bael, the king of demons. The fight against Dominique is one of the most difficult in the game due to her erratic movement and variety of special abilities. You will need all your skill to avoid her unpredictable attacks, baiting her into using specific moves and avoiding her variety of summons and light attacks.
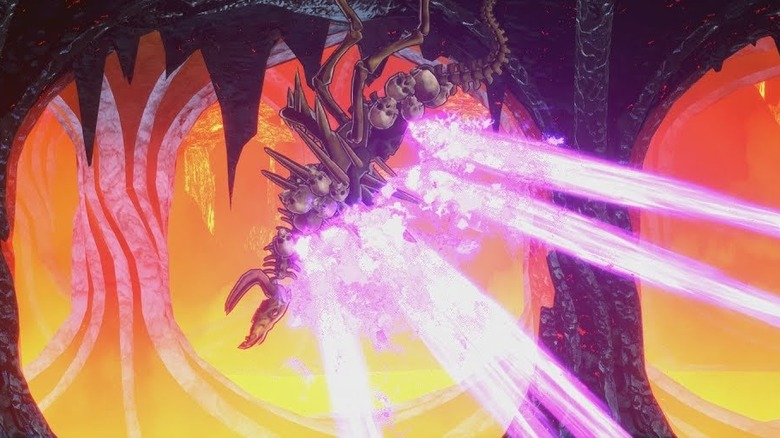
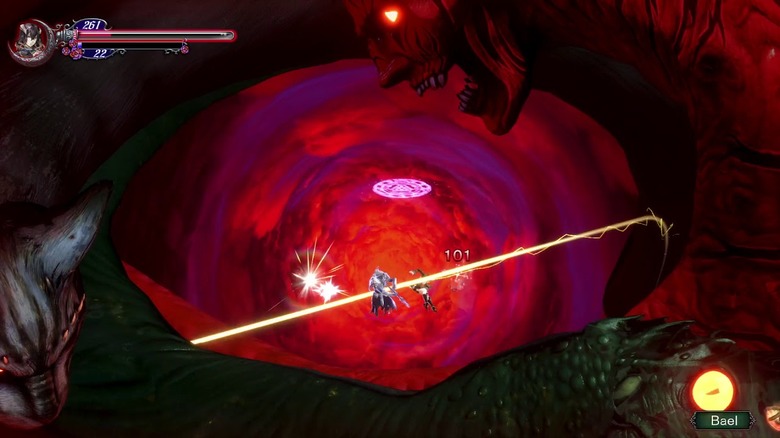
Upon defeating Dominique, the game immediately transports you to face Bael, a massive demon who packs quite the punch. Take a moment to heal up and equip a medium range melee weapon to attack the three, rotating heads. The three heads, which are color-coded, each have a unique attack, so keep this in mind when developing your strategy. Bael also summons lava, which floods the area and dishes out a lot of damage. Make use of the purple platforms and Invert shard to avoid unnecessary harm.
Ending 3, Part 5: "Dethroned" achievement
Upon defeating Dominique and Bael, the good ending is unlocked. Miriam recovers the Liber Logaeth, which Johannes uses to banish the castle. With the demon threat eliminated, peace once more settles over the land.
Back in the village, Johannes and Miriam reflect on the cost of their victory, which included the death of Gebel, Alfred, and Zangetsu. The game ends with Johannes saying he may have a way to stop Miriam's crystal from corrupting her, a silver lining in an otherwise bloodsoaked tale. This ending awards the "Dethroned" achievement. Together, the pair leave Arvantville, watched over by the shadow of an unseen person, implying that there might be more to the story. It's possible this mysterious entity hints at a sequel to Bloodstained: Ritual of the Night. As the game released in June 2019, it might be a while before players discover what else Koji Igarashi has in store.