Zelda: Tears Of The Kingdom - How To Solve The Orochium Shrine Puzzle

There is plenty to say about the newest "Zelda" installment, "Tears of the Kingdom." Reviewers are singing its praises, and even critics are wowed by the gameplay and massive map. And, like practically every other "Zelda" title, "Tears of the Kingdom" is full of puzzles. Some of these puzzles are inside shrines, which can be a bit tricky (and time-consuming!) if players don't know what to do or which way to go.
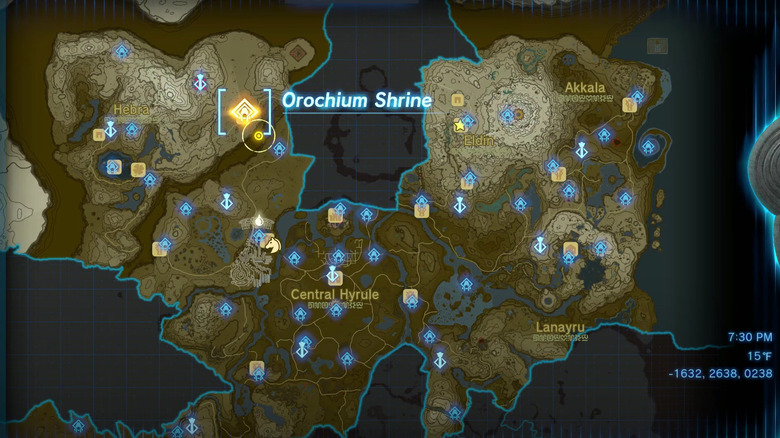
The Orochium Shrine's puzzle is no different, but, fortunately, it's pretty straightforward once one knows what's what. However, first things first: Start by fast traveling to the Snowfield Stable in the Hebra Mountains and then head north. The Orochium Shrine is pretty close, so Link won't need to run long to find it. Be careful though! It's quite frosty out, so dress accordingly. Once the shrine has been found, it's time to head inside via Link's magical-dead-guy hand.
Jump in feet first
Once inside the shrine, Link needs to head left around the corner and defeat the baddie lurking there. Next, choose Ascend to go up through the platform that's directly over Link's head. As one might expect, head up the ladder and then have Link go under the gap in the platform. Once he emerges, immediately head right and use the glide feature to get down. Be ready to fight! There's a guard down there that he will need to either evade or beat.
There is a set of stairs, but don't go up yet. Instead, head around them to defeat the other guard lurking just out of sight. Then, get the chest there to add five common arrows to Link's arsenal. Now that that's done, go up the stairs and use Ultrahand to open the door. There will be a hallway full of what appear to be lasers, and players shouldn't avoid these. Run through the first (or any of them, really) red beam of light to send Link spiraling down.
Jump down ... feet first
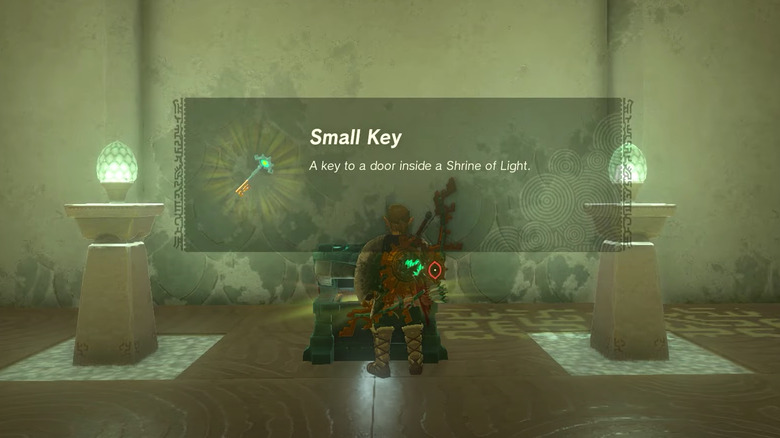
Now that Link has fallen, he needs to run past these red beams in this corridor without being hit. Players will need to time it by pausing and waiting for beams to move before advancing. Link should run to the far end of the hall and then use Ascend to get back to the top level. Then, have him run up the stairs and open the treasure to get a small key to a door inside the Shrine of Light. Now, Ascend above the chest through the grill overhead. Link will need to run down the stairs and defeat both guards lurking there. Then, he can run behind the chamber with the stone orb and open the door on the back with the key he just obtained.
Now, he can pick up the orb and run to either platform on the right or left. Be patient and wait for the adjacent platform to drop down, and then Link can get on to take the orb up.
Glide down — yes — feet first
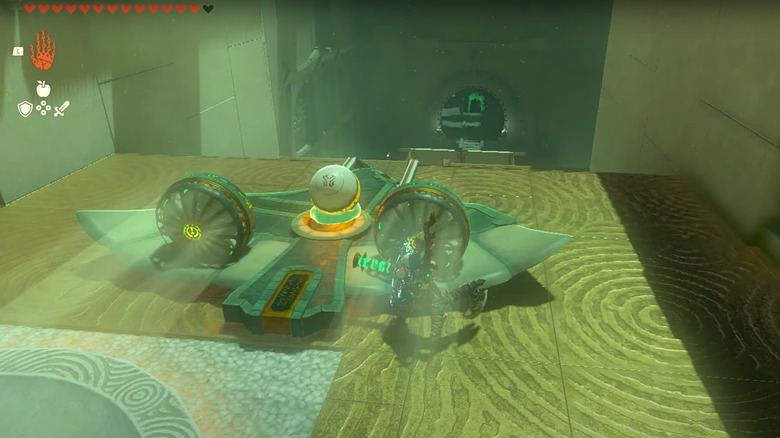
Once up, carry the orb up the stairs on the left. There's a handy crater glowing gold where Link should drop the stone. It will turn green, and green means go! Then, the door will spring open. Next, have Link use Ultrahand to move the vehicle inside the room onto the tracks at the edge of the platform. He can then pick up the orb again and plop it onto the spot in the middle of the vehicle, as demonstrated above.
Players can shoot an arrow or whack the machine with Link's sword to get it to activate and fly across the room. Link should glide down and land not on the ground, but on the very last wall before the end of the room. Perched there, he can use an arrow to turn the vehicle off and have it fall to the ground.
Jump down and Ultrahand the orb into the circular pit on the left. The chamber will open, and Link can run in and use his magic-dead-guy hand to complete the shrine and get the Blessing of Light.