How You've Been Playing Sekiro: Shadows Die Twice Wrong This Whole Time
Sekiro: Shadows Die Twice made a name for itself as the newest hard game on the block. After all, what else would you expect out of FromSoftware? The fast-paced shinobi action leaves very little room for error, but it makes plenty of space for your countless "Death" screens. More often than not, it's one boss or another that acts as a seemingly impenetrable roadblock in the game. But things don't have to be so hard.
Nearly every major enemy has some sort of weakness. It could come in the form of exploiting wide openings after certain attacks. In other cases, it could be that one of your prosthetics or other abilities work wonders on them. However, there are some rare sets of circumstances that can almost guarantee you victory. There's something about these strategies that might make you scratch your head and ask if From intended for things to work that way, but nonetheless, it's a guaranteed win. You can't complain about that.
Regardless of how you work your way through the game, what matters most is that you have fun with it. Various content creators on the internet have found their own ways to play this difficult game, and some of these methods might change the way you approach various challenges. So join us as we look at all the off-the-wall ways people are playing Sekiro: Shadows Die Twice.
Backstabbing through a wall
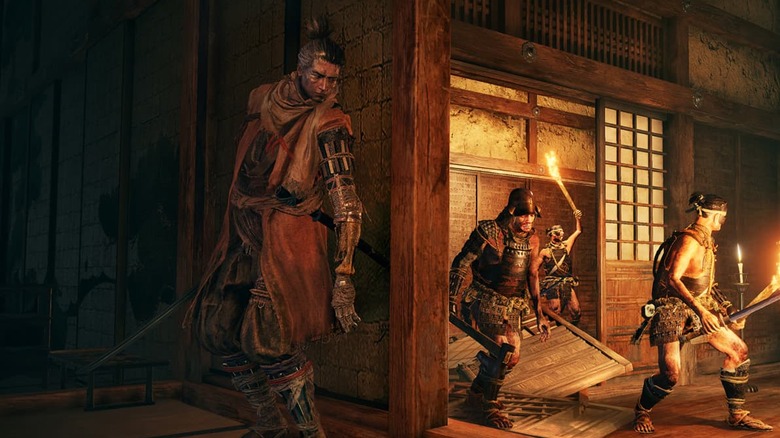
About halfway through the Ashina Outskirts, you'll come face to face with the Chained Ogre. This hulking brute stays bound to a small barricade, but his positioning gives him ample sight over the battlefield. Sneaking up on the brute doesn't seem like an easily viable option. At the same time, the ogre puts up a tough fight.
Dealing with two whole deathblows against this miniboss didn't quite cut it for the Sekiro speedrunning community, so they figured out a reliable way to cut that task in half. The item Gachiin's Sugar provides you with a boost to your stealth capabilities, making it harder for enemies to detect you. However, there are additional, game-breaking side effects you might not know about, such as the ability to somewhat clip through walls. Yes, that includes the wall directly behind the Chained Ogre.
After activating the sugar, you can run directly into the side of the ogre. There's a good chance he won't notice you, considering the item's abilities. You'll notice that the red deathblow indicator will show up. Hit the attack button, and you'll clip through the wall to stab the ogre, taking out half his life. The rest of the fight may not necessarily be smooth sailing, but it won't last nearly as long. The only other way to land a stealth deathblow involves a lot of patience, considering you need to get his attention, run away, and wait for him to cool off.
Corrupted Monk with a side of cheese
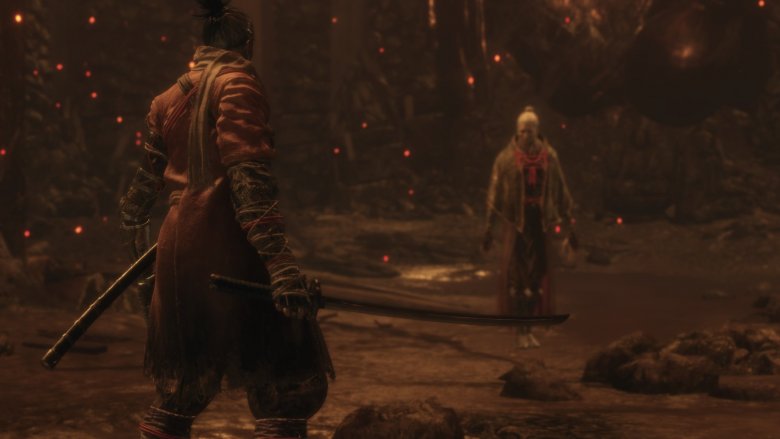
The Corrupted Monk presents a tough challenge, considering her far reach and relentless assault. Having to beat her twice doesn't help much, either, especially since she requires three deathblows the second time around. These fights are pretty grueling. But with the help of a pretty cheesy strategy, you can make these fights inconsequential.
First off is the illusory Corrupted Monk at the end of Mibu Village. Equip the firecrackers prosthetics, and throw some snap seeds and ashes onto your quick item bar. We'd also recommend using a divine confetti and Ako's Sugar when you enter the arena to give yourself an attack boost. Then find an opening for yourself, and slash twice. Pop your firecrackers. Then slash twice again. Repeat. When you run out of spirit charms for your prosthetic, you can use either the snap seeds or the ashes to keep the boss stunned. If you can keep the cycle up, you should be able to land a deathblow in no time.
For the true form of the Corrupted Monk, things get surprisingly easier. You can use the same strategy outlined above, but you could also knock out her first two deathblows much more quickly. When you enter the battlefield in the Fountainhead Palace, immediately grapple up to a nearby tree branch. Then keep hopping between branches. She'll lose sight of you, opening her up to two stealth deathblows.
Evaporating O'rin of the Water
Sekiro likes to keep things spicy, challenging players at every turn. If you're not facing a boss, you probably have a difficult mini-boss on your plate instead. Mibu Village houses one of the hardest ones in the game: O'Rin of the Water. Her erratic, floaty movement makes her attack pattern hard to predict, and her high damage output shreds your posture bar and vitality. Luckily, no one said you had to fight her fairly.
Her arena is quite large, but you don't need to necessarily fight her within those bounds. There are two pathways on opposite ends of the clearing, and leading her down either one can be her downfall. If you lure her back the way you came, you can keep her stuck between two rocks. You can also bring her further into the village, just past the bridge. As long as you keep her in these areas, she'll stop being violent and aggressive.
At either of those points, she loses interest in you and starts retreating, giving you a pretty wide opening to kill her. Just attack her from behind, doing direct damage to her vitality. Once she starts blocking you, relent your attack. If you attack her guard too many times, she'll deflect you and then become aggressive again. So back off, set yourself up behind her, and repeat the measured assault until she's dead.
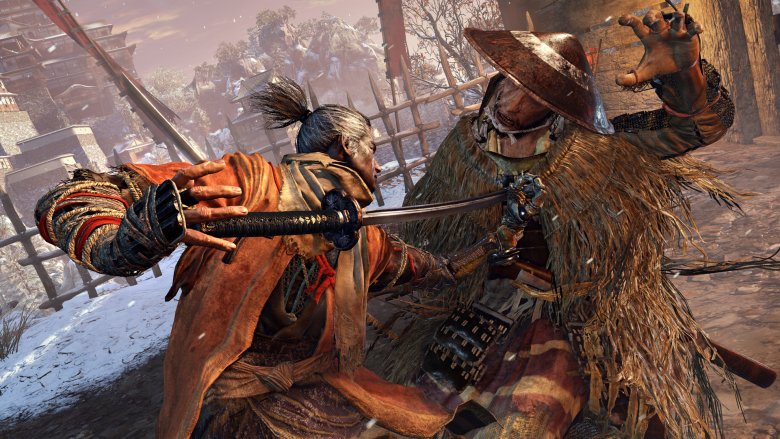
Putting Lady Butterfly in a jarring predicament
If the name Hirata Estate doesn't ring a bell for you, you probably aren't familiar with Lady Butterfly. She awaits at the end of this technically optional area. You don't even need to visit the level, depending on the ending you're trying to see. However, if you have fought her, you probably won't be forgetting her for a good while after you beat Sekiro. Her kunai have ended many lives, and her second phase can overwhelm unseasoned players. Fortunately, there's a pretty foolproof way to deal with her that can make her fight trivial at best.
Under the Prosthetic Arts skill tree, you'll notice a combat art called the Nightjar Slash. The attack doesn't really have much to do with your Shinobi Prosthetic, but it lets you pull off a quick spinning slash. The move is reminiscent of the Nightjar shinobi that block your path along the rooftops of Ashina Castle. It does considerable posture damage, and Lady Butterfly really doesn't know how to deal with it.
Just set the Nightjar Slash to your active combat art. Run up to her at the start of the battle and start spamming the attack. For the most part, you'll catch her in a set of animations that give you free damage. If she escapes the cycle, look for the next opening to start it up all over again. You should get through both of her phases in no time.
Capture the moment

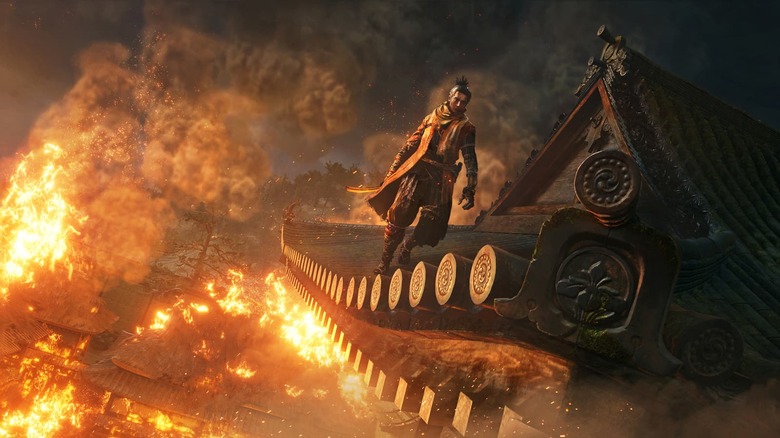
Behind all the clashing blades and gushing blood that punctuates every moment in Sekiro lies the beautiful environment that FromSoftware has built. From the lush cherry blossoms to the majestic temples, there are some seriously breathtaking backdrops throughout your adventure. It's such a shame that the developers didn't implement a photo mode.
But that shouldn't stop you from having your own photo mode anyway. If you're playing the game on PC, you can use a cheat engine with certain scripts to simulate a photo mode in Sekiro. Keep in mind, all of this is unofficial, so use it at your own discretion. If you're interested, check out Twitter user @jim2point0, who built the script that implements a fully functional photo mode in the game. You can freeze the world to line up the perfect shots. There's even an added function of freezing just the enemies, letting you pose Sekiro in the best way possible.
It's worth noting that setting all this up requires the use of a cheat engine, making it a little more complex than simply adding a mod. If you're interested in doing this, we'd recommend doing more research so you don't mess anything up. But it all pays off when you show off your amazing photos of Fountainhead Palace to your friends.
Poison is a slow and insidious killer
On your way to the Bodhisattva Valley, you'll have to kill a mini-boss who stands in your way named Snake Eyes Shirahagi. She's a thoroughly unpleasant enemy to deal with, and she can often clear out your health bar with less than four hits from any range. You'll encounter her in the Poison Pool, which leaves you with a lot of open space and no cover. Really, it's the perfect situation for her and the worst for you. But you don't need to close the gap to kill her. There's actually a slow but more surefire way to kill her.
Toward the back of the cavernous chamber, you'll find another sculptor's idol behind a cliff. Rest at it to make it your new starting point. From here, you can try sneaking around to land a free deathblow, but that's up to you. What's most important for this strategy is to get her attention then retreat to the top of the cliff. She'll try to shoot you, moving into the right position to aim at you. But you'll notice that the only places she can stand to shoot you involve some poison.
Manipulate her pathing from afar to keep her stuck in the poison. It'll slowly but surely kill her, as long as you're patient. It may not be the most honorable way, but she brought a gun to a swordfight. So if you think about it, she already disrespected you.
These monkeys won't see or hear what's coming
In some ways, the Folding Screen Monkeys might be the easiest major boss in Sekiro. They aren't particularly oppressive, and killing them requires playing an elaborate game of hide and seek. It beats deflecting oversized apes or absurdly aggressive samurai. If anything, navigating through Senpou Temple can be more deadly than the four monkeys, and the speedrunning community didn't want to deal with the temple anymore.
After you clear the Armored Warrior, you'll find a smaller temple full of enemies. To the right, you'll see a tree you can climb. Grapple up to the branch and pop a Gachiin's Sugar, which gives you the power to clip through some areas in the map. By jumping onto a nearby rock from the top of the tree, you'll clip through some of the level's geometry. Maneuvering your way through here can get tricky, so we'd recommend checking out this video to see the step-by-step breakdown.
When you figure it out, you'll start falling into oblivion. After a few seconds though, you'll find a grapple point. If you take it, you'll break your fall as the rest of the level spawns in. Congratulations, you've made it to the Folding Screen Monkeys battleground. More importantly, you're entering from behind all the monkeys, allowing you to easily sneak up on all of them to cleanly and quickly finish the fight. Within mere seconds, you've cleared half of Senpou Temple and earned the Mortal Blade.
Sekiro doesn't take your bull
On your way to Ashina Castle, one final boss stands in your way before you cross the large gates: the Burning Bull. This huge beast has horns made of flaming hay rolls, and he isn't afraid to stampede around the battlefield, hurting you in the process. Unless you can take advantage of the scant openings between his powerful attacks, you're probably in for a long battle. However, if you're willing to do some tricky platforming, you can bypass this fight entirely.
In the area right before you enter the Blazing Bull's arena, you'll find a tall tower to the right of the door leading to the courtyard. Climb to the top of the tower and look toward the arena. You'll notice the courtyard walls are just tall enough for you to walk along, but they're a bit too far to jump to. Luckily, you can use the weird geometry of the nearby tree to make the leap.
It's a tough jump to make because of the angle, but once you land on the wall, it's smooth sailing from there. You're probably not supposed to be up here, considering that the terrain below the other side of the wall doesn't even exist. The music and boss UI will kick in, but there's no way he can reach you from below. Regardless, you can safely walk into Ashina Castle using this path, completely avoiding the Blazing Bull.
You'll never fight Jinsuke Saze again
When you're near the top of Ashina Castle, you'll probably end up fighting a mini-boss named Jinsuke Saze. He uses the Ashina arts when he wields his blade, which values quick, wide slashes over anything else. If you're not fast enough to counter or dodge him, you can say farewell to your life. Furthermore, he acts as the gatekeeper to Genichiro, a major boss in the game. Normally, without beating Jinsuke, you'll never progress through the story. However, people have found a technique that gets you to Genichiro a lot faster.
Speedrunners mastered a quick shortcut that skips Jinsuke's fight completely. When you start at the Upper Tower – Antechamber idol in Ashina's Castle, you'll normally move forward through the inside of the castle, working your way through the enemy-filled rooms. Instead of moving through the building, though, go to the window you used as an entrance. If you stand on the sill, you can jump along the outer wall of the building to the next floor. It's another tricky jump to make, but it brings you directly to Genichiro's battleground. You'll never have to fight Jinsuke again when you perfect this skip.
Taking many stabs at Genichiro
We hope you mastered the tricky jump from the last slide, because you'll probably need to do it after respawning after defeat a lot. Genichiro truly tests your might in Sekiro, presenting a difficult challenge that can only be cleared after demonstrating a mastery over combat. Deflecting every hit and exploiting every opening are both crucial to defeating this seasoned warrior. All it takes it a lot of practice.
Alternatively, you could invest in the final skill in the Shinobi Arts tree: Shadowrush. It might take a bit of grinding to get all the experience needed, so you might want to explore other areas first, like the Sunken Valley or Senpou Temple. Once you get it, though, the fight with Genichiro will be that much easier.
Shadowrush has a long wind-up period, but it does respectable damage and has a long reach to make up for it. Genichiro won't deflect or counter this thrusting attack, so use it whenever you see an opening for some guaranteed damage. Once you get into a reliable rhythm, getting to his second phase should be much easier.
That said, it's worth noting that Shadowrush is less reliable in the second phase, considering how much faster he moves. Instead, keep an eye out for his telegraphed leaping thrust to land a Mikiri Counter on him. Additionally, counter his lightning-based attacks by leaping into the air to catch them. You can throw them back for massive damage, as long as you're still in the air.